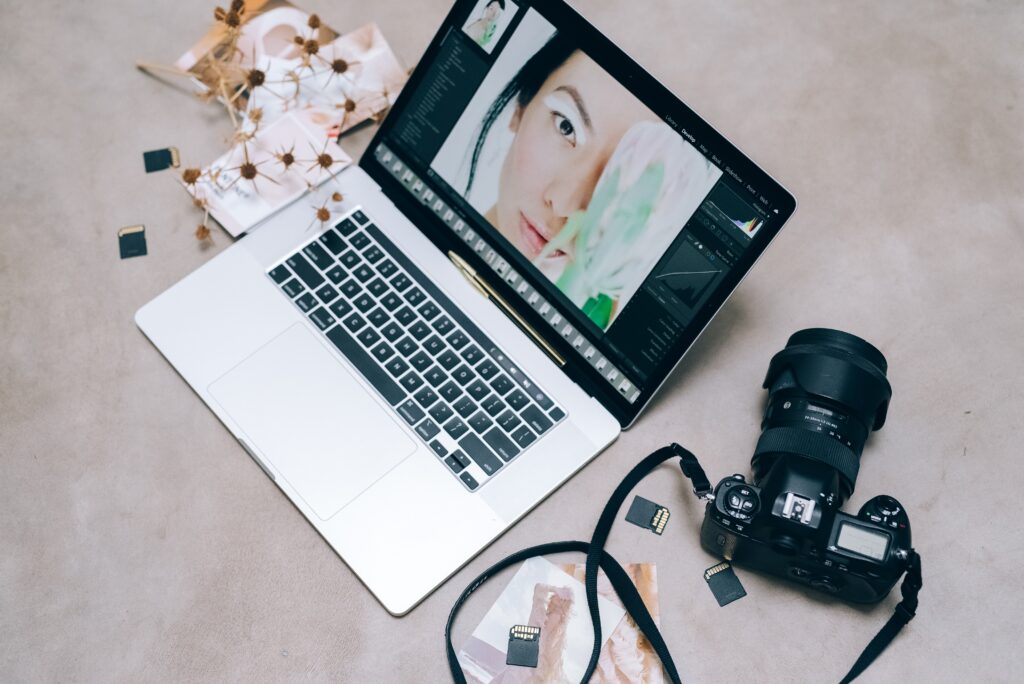
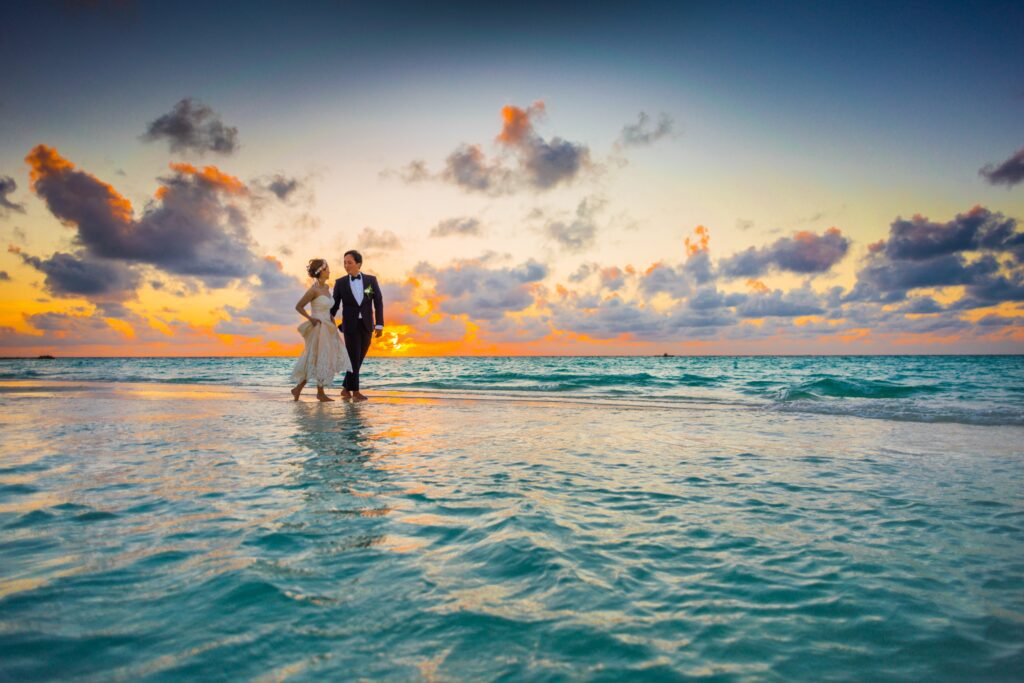
Calling all wedding photo editing enthusiasts! Are you ready to unlock your creativity and take your wedding photos to the next level?
Look no further, as we’ve got you covered. In this blog article, we’ll share essential tips and techniques that will guide you towards achieving picture-perfect results in your wedding photo editing journey. From understanding the basics of adjusting brightness, contrast, and saturation to mastering the art of white balance, eliminating distractions, and fine-tuning image details, we’ll cover all the key aspects that will elevate your editing skills to new heights.
Imagine being able to create stunning wedding photos that capture the love, joy, and every special moment of that unforgettable day. With our tips and tricks, you’ll be able to do just that! Whether you’re a beginner just starting out or an experienced photo editor looking to sharpen your skills, this article has something for everyone. We’ll break down the techniques into easy-to-follow steps, ensuring that you can apply them with confidence and achieve remarkable results.
Let’s dive in and make your wedding photo editing dreams come true!
Understanding Basic Adjustments of wedding photo editing: Brightness, Contrast, and Saturation


Discover the secrets behind three essential adjustments: brightness, contrast, and saturation. Get ready to unleash the full potential of your editing software and take your wedding shots to the next level.
Shedding Light on Brightness: Let Your Photos Shine
Brightness plays a crucial role in wedding photo editing. It’s like turning on a light switch that brings your images to life. By adjusting the brightness, you can enhance the overall exposure and reveal hidden details in shadowy areas. Plus, it’s a fantastic way to create the perfect mood and ambiance. So, go ahead and brighten up those dimly lit ceremony shots or add a touch of drama to those breathtaking sunset portraits!
The Art of Contrast of wedding photo editing
Contrast is the magic ingredient that adds depth and dimension to your wedding photos. It’s like the salt and pepper that make flavors explode! By tweaking the contrast, you can make your subjects stand out from the background and make colors more vibrant. Boost the contrast for those epic black-and-white shots or lower it slightly for a softer, dreamier feel. With contrast, you have the power to create visual impact and captivate your viewers.
Adding Life with Saturation: Vibrant Colors That Wow
Weddings are all about color, and saturation allows you to bring those colors to life. Imagine a bouquet of vibrant flowers, or the rich hues of a sunset—saturation is the key to showcasing their beauty. By adjusting saturation, you can make colors more vivid and eye-catching. But remember, balance is key! Avoid going overboard with saturation, as it can lead to an unrealistic and artificial look. Aim for a natural and balanced saturation level that preserves the essence of the wedding day.
Art of White Balance for wedding photo editing: Correcting Color Temperature


Embark on a captivating journey into the realm of white balance, where you’ll unlock the secrets of perfecting color temperature in your wedding photos. Mastering white balance is like wielding a magical power that brings forth natural and lifelike images. Join us as we venture into this thrilling color-correction expedition, ready to transform your wedding photos into true works of art!
Click here to read more about white balance.
The Science Behind White Balance: Achieving Natural Colors
White balance is all about ensuring that white appears as pure white in your wedding photos, regardless of the lighting conditions. Different light sources have different color temperatures, and your camera captures these variations. Correcting color temperature through white balance allows you to eliminate unwanted color casts and maintain accurate colors in your images. It’s like waving a magic wand and restoring the natural beauty of the scene!
Auto vs. Manual White Balance: Choosing the Right Approach to wedding photo editing
Most cameras have an auto white balance feature that automatically adjusts the color temperature based on the lighting conditions. While this can be convenient, it’s not always foolproof. In challenging lighting situations, like mixed lighting or indoor venues with artificial lighting, using manual white balance is often the way to go. By manually setting the appropriate white balance, you have greater control over the color accuracy and can produce stunning results.
The Power of Presets: Streamlining Your Workflow
Wedding photo editing can be a time-consuming task, but presets are here to save the day! Presets are pre-defined settings that allow you to quickly apply a specific white balance adjustment to your photos. Whether it’s for outdoor daylight, tungsten lighting, or candlelit receptions, presets can be a lifesaver in maintaining consistency throughout your editing process. So, take advantage of these time-saving tools and make your workflow smoother and more efficient!
Eliminating Distractions: Removing Unwanted Objects from Wedding Photos


Get ready to embark on a journey of creating flawlessly stunning wedding photos by eliminating distractions. In the realm of photo editing, we hold the power to make unwanted objects disappear like magic. So let’s dive in and start editing!
Identifying Distractions with wedding photo editing: Spotting the Unwanted Elements
Before you can remove distractions, you need to identify them. Keep an eye out for anything that takes the focus away from the main subjects or disrupts the overall composition. It could be a stray object, a photobombing guest, or even a smudge on the lens. Once you’ve pinpointed the distractions, you’re one step closer to creating a cleaner and more visually appealing wedding photo.
The Art of Cloning and Healing for wedding photo editing: Making Magic Happen
Now that you’ve spotted the distractions, it’s time to work your editing magic. One of the most powerful tools in your arsenal is the cloning and healing tool. With this tool, you can seamlessly remove unwanted objects by cloning nearby pixels and blending them into the surrounding area. It’s like performing a vanishing act, where the distractions simply fade away, leaving behind a clean and distraction-free image.
Patience and Precision: Taking It One Step at a Time
Removing distractions from wedding photos requires patience and precision. Take it one step at a time and zoom in to work on small sections. Carefully clone and heal, ensuring that the edits seamlessly blend with the surrounding elements. It may take a bit of practice, but with time, you’ll become a master at eliminating distractions and creating flawless wedding images.
How important are Sharpening and Enhancing in wedding photo editing?


Prepare to elevate your editing prowess as we delve into the world of sharpening and enhancing image details. These transformative techniques will breathe life into your wedding photos, adding a captivating touch of brilliance that will make them truly mesmerizing. So, let’s make your wedding photos shine like never before!
The Power of Sharpening: Bringing Clarity to Your Images
Sharpening is like giving your wedding photos a crisp, clear makeover. It enhances the details and makes them pop, adding a sense of depth and definition. With the right amount of sharpening, you can bring out the intricate lace on a wedding gown or the delicate features of a ring. But remember, moderation is key! Avoid over-sharpening, which can create unnatural and harsh results. Find the sweet spot that enhances the details while maintaining a natural and pleasing look.
Enhancing Details with Clarity and Structure for wedding photo editing
Clarity and structure adjustments are powerful tools for fine-tuning the details in your wedding photos. Clarity enhances mid-tone contrast, making the image appear more vibrant and defined. It’s like applying a subtle boost to the overall clarity of the scene. Structure, on the other hand, targets the fine details, adding a touch of sharpness and texture. By carefully adjusting these settings, you can create a more impactful and captivating image that draws the viewer’s attention.
Dodge and Burn: Sculpting the Light and Shadows
Dodge and burn is an age-old technique that allows you to selectively lighten or darken specific areas of your wedding photos. It’s like being a sculptor, shaping the light and shadows to create depth and dimension. Use dodge to brighten up key elements, such as the couple’s faces or a beautiful centerpiece. With burn, you can add drama and depth by darkening the background or emphasizing the contours of a stunning wedding venue. Dodge and burn give you precise control over the lighting, resulting in a more dynamic and engaging final image.
In conclusion, armed with these essential wedding photo editing tips, you’re ready to embark on an exciting journey of creating picture-perfect memories. Remember, practice makes perfect, so don’t be afraid to experiment and explore your creative side. Whether you’re a beginner or an experienced editor, the key is to have fun and let your passion shine through every edit. Now, go forth and transform those raw shots into stunning works of art! So, grab your editing software and start editing those wedding photos with confidence and finesse.
If you have any questions, leave them in the comments below and I’ll include them in our next blog post!
Happy editing!


